
24GHz experiments
This Website is intended to provide an ongoing account of a Scottish Government funded experiment with wireless equipment that has the potential to provide remote communities with ultra-fast broadband.
Introduction
Many community broadband projects require a long-range wireless link for their connection to the Internet. The equipment of choice is currently based on wifi operating in the unlicensed the 2.4 or 5GHz spectra. This is cheap: the equipment for a long-distance point-to-point link costs under £400 and can provide bi-directional throughput of about 50Mb/s. While this provides an improvement for the many rural communities that are served by long copper telephone lines, 50Mb/s is no longer adequate for a community of, say, 50 residences. Technically, there is no problem in getting more bandwidth in one of the licenced spectra, but the equipment is more expensive and the additional cost of the licence makes this option unaffordable for small communities.
Recently some new equipment operating at 24GHz has come on the market from Ubiquiti. See http://www.ubnt.com/airfiber. This is advertised as offering 1.4Gb/s at up to 13km. Although not as cheap (a point-to-point link costs about @pound3,000) it might present an opportunity for some rural communities to upgrade their service to be competitive with the current fibre based offerings in the UK, assuming they can find an internet connection with that bandwidth.
With this in mind, the Scottish Government’s Demonstrating Digital programme provided the University of Edinburgh with funds to test this equipment “in the wild”. Of course, there is ample evidence that the equipment works, but most of the evidence we have is from installations in urban areas over short distances. How will it perform over longer distances in West Highland weather? And what are the practical problems faced by communities who want to install it?
Background
Before going into an account of the the project, let us look at some of the pros and cons of using this equipment and what is already known about wireless transmission in the 24 GHz spectrum. We have already noted that the equipment is affordable. The advertised throughput of 1.4Gb/s presumably means 700Mb/s in each direction, but that would provide a satisfactory connection for a hundred or so residences. Moreover, transmission in this frequency is much less likely to be affected by tidal reflection (a significant problem in the Highlands and Islands)
There are some significant drawbacks, though.
-
In the UK, although the 24GHz spectrum is unlicenced the power limits are such that it is unlikely that this equipment would be effective over the distances we have in mind. We obtained a “non-operational” licence from Ofcom in order to test the equipment at the advertised power.
-
Several of the links used by Tegola and related projects are longer than 13km
-
Transmission in higher frequencies is adversely affected by high humidity and high temperatures. Scotland benefits from only one of these.
-
The Ubiquiti equipment uses substantially more power than their 5GHz offerings – about 40W. This would make it unsuitable for solar and wind-powered relays.
Our initial plan was to test the equipment on existing Tegola relays one is a 6.5km link; the second 15.5km. Although the latter is over the advertised range, even a substantial fraction of the advertised throughput would be useful.
The following is a roughly chronological account of the project. The initial installation was done during a period of very high winds in early January 2014.
December 2013: Initial configuration and testing
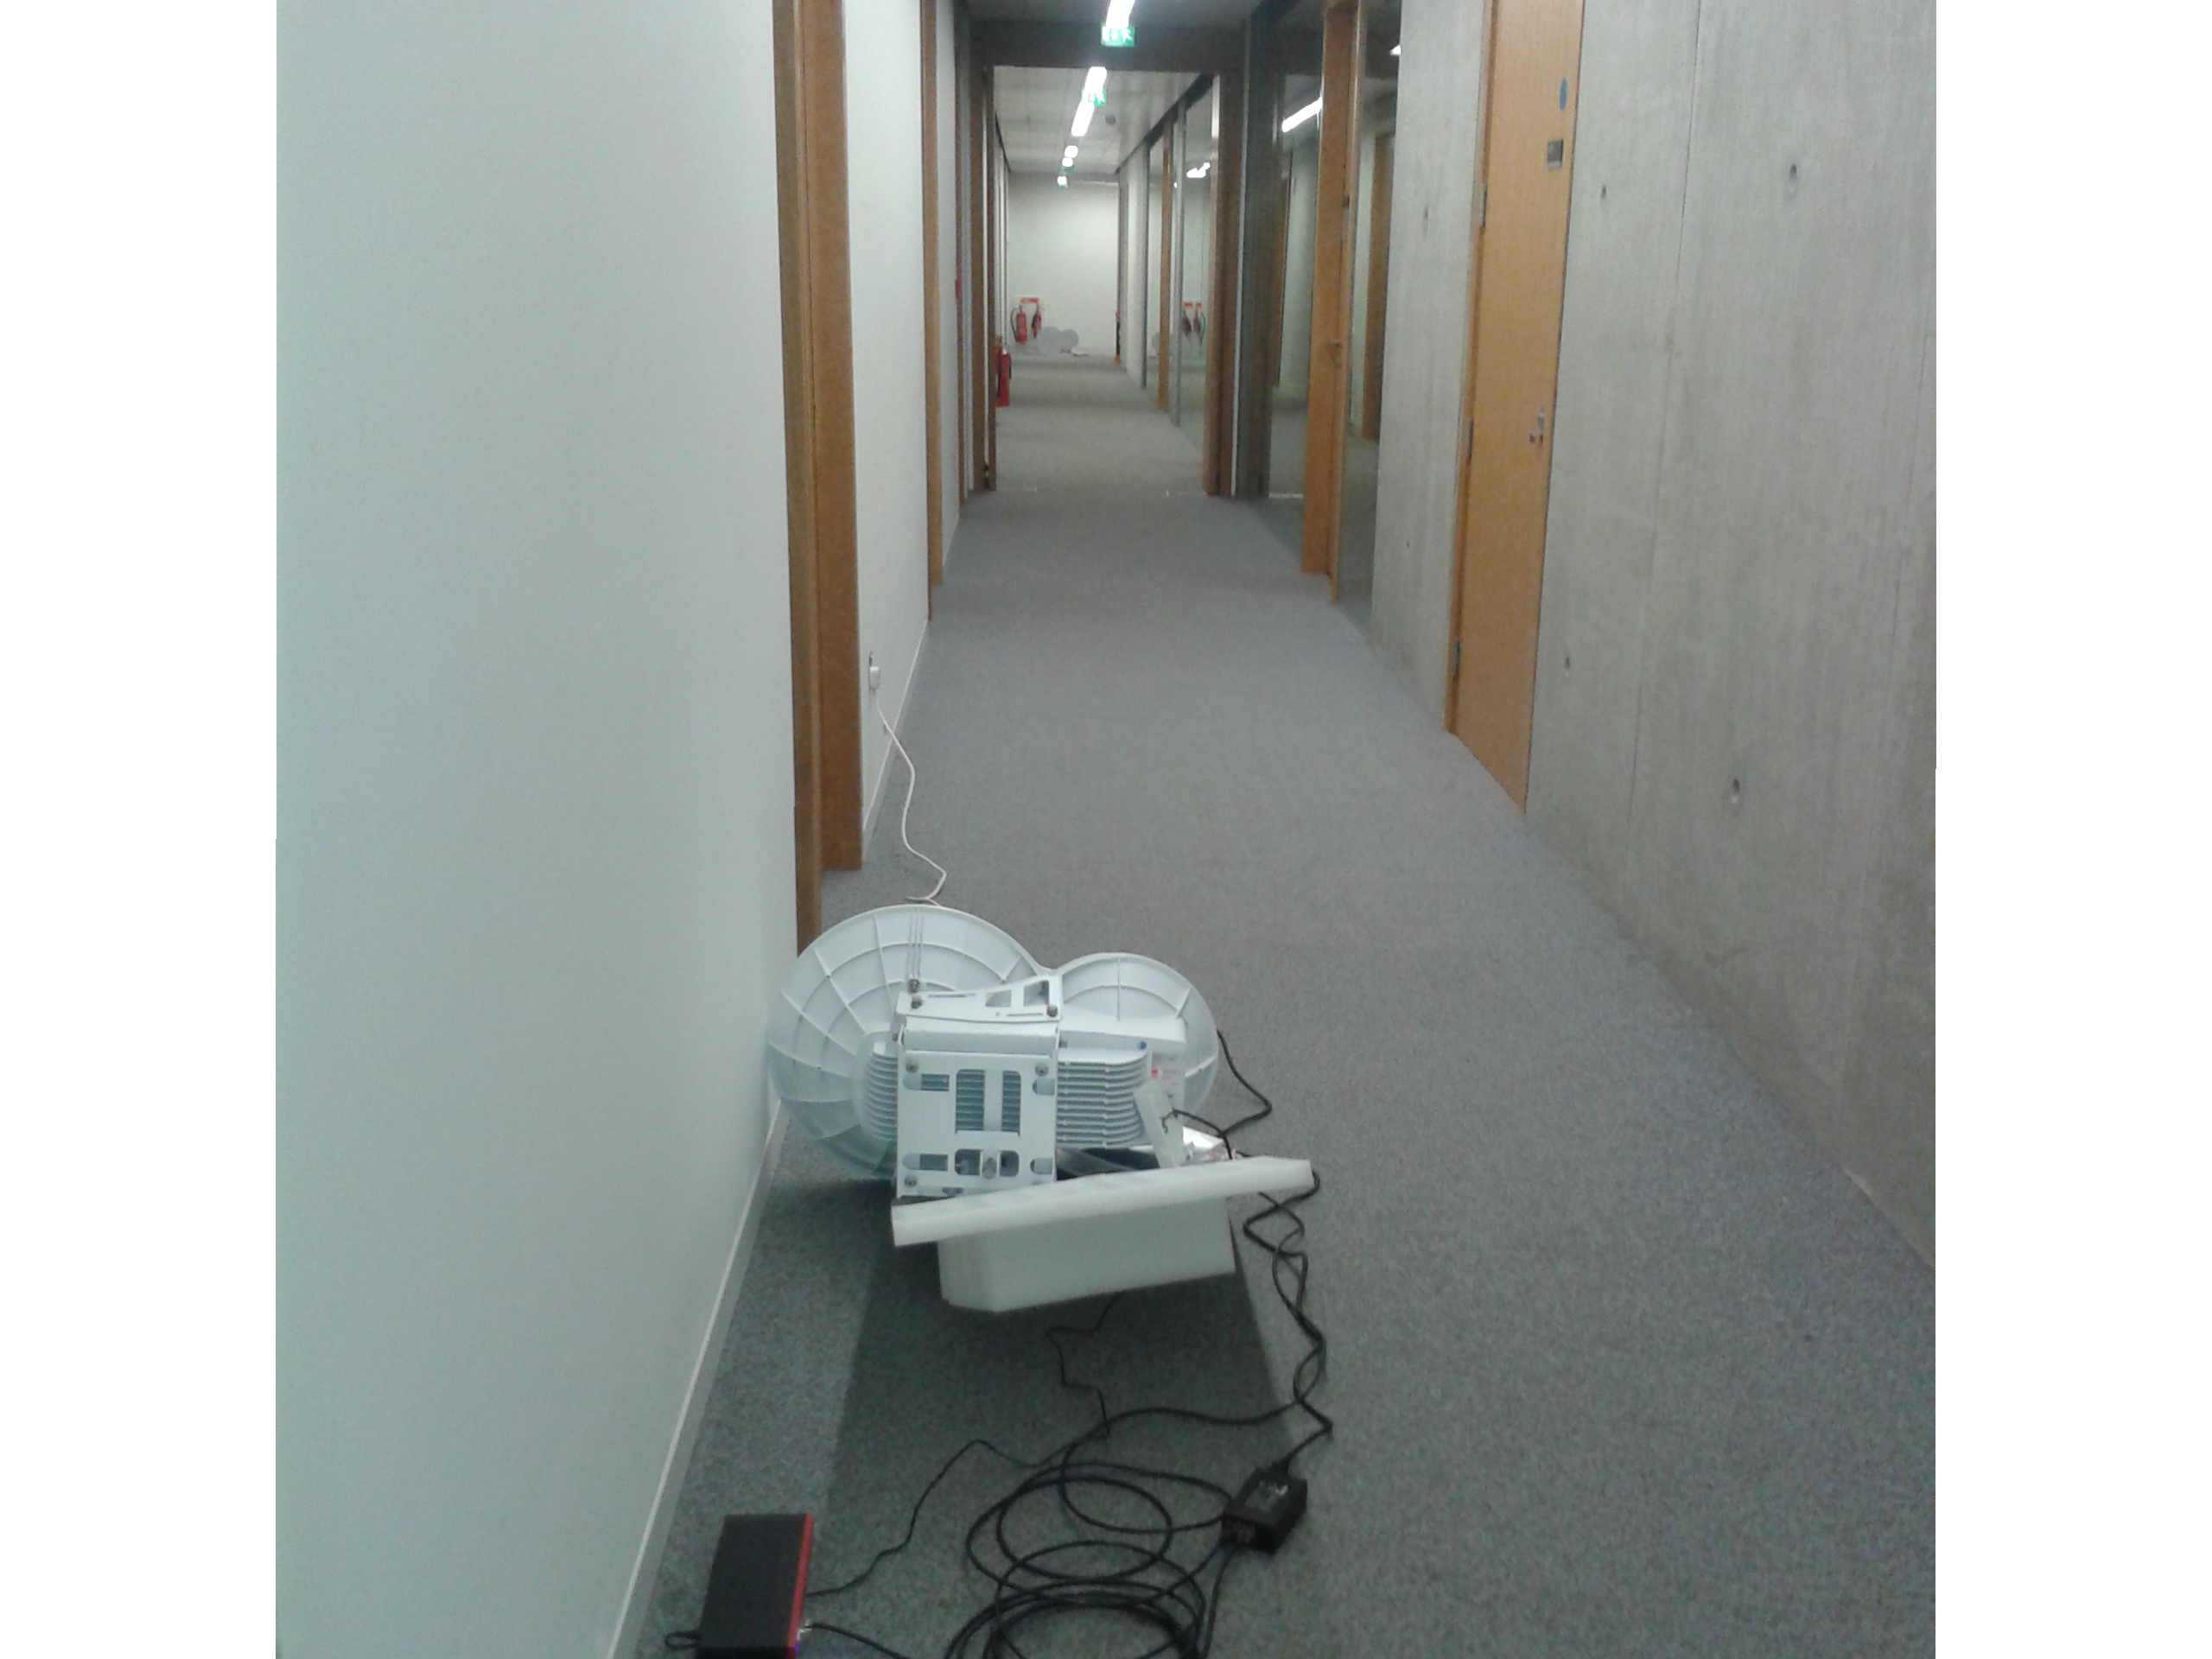
We ordered and received one pair of radios. Before deploying them we thought it would be a good idea to check that they were working and test them in ideal situation – our office corridor. One thing we immediately noticed was how critical alignment is. Even over a distance of 35m, the performance fell of dramatically if the antennae were slightly out of alignment. It’s a very good idea to configure equipment before deploying it, but to do this we had to turn off sychronisation which relies on GPS and doesn’t work indoors.
December 2013 & January 2014: strengthening the relays
Our basic relay construction (see the relevant howto) uses aluminium pegs to anchor the diagonal braces to the ground. Both sites were on terrain that consisted of bedrock covered by peat of varying depth. Although we have never had a problem with the pegs shifting, peat is a bit jelly-like, and the structures can wobble through a cm or two. The alignment of 24GHz is much more critical than for the lower bandwidths of 2.4 and 5.8GHz, so we replaced the pegs with epoxy bolts into the bedrock.
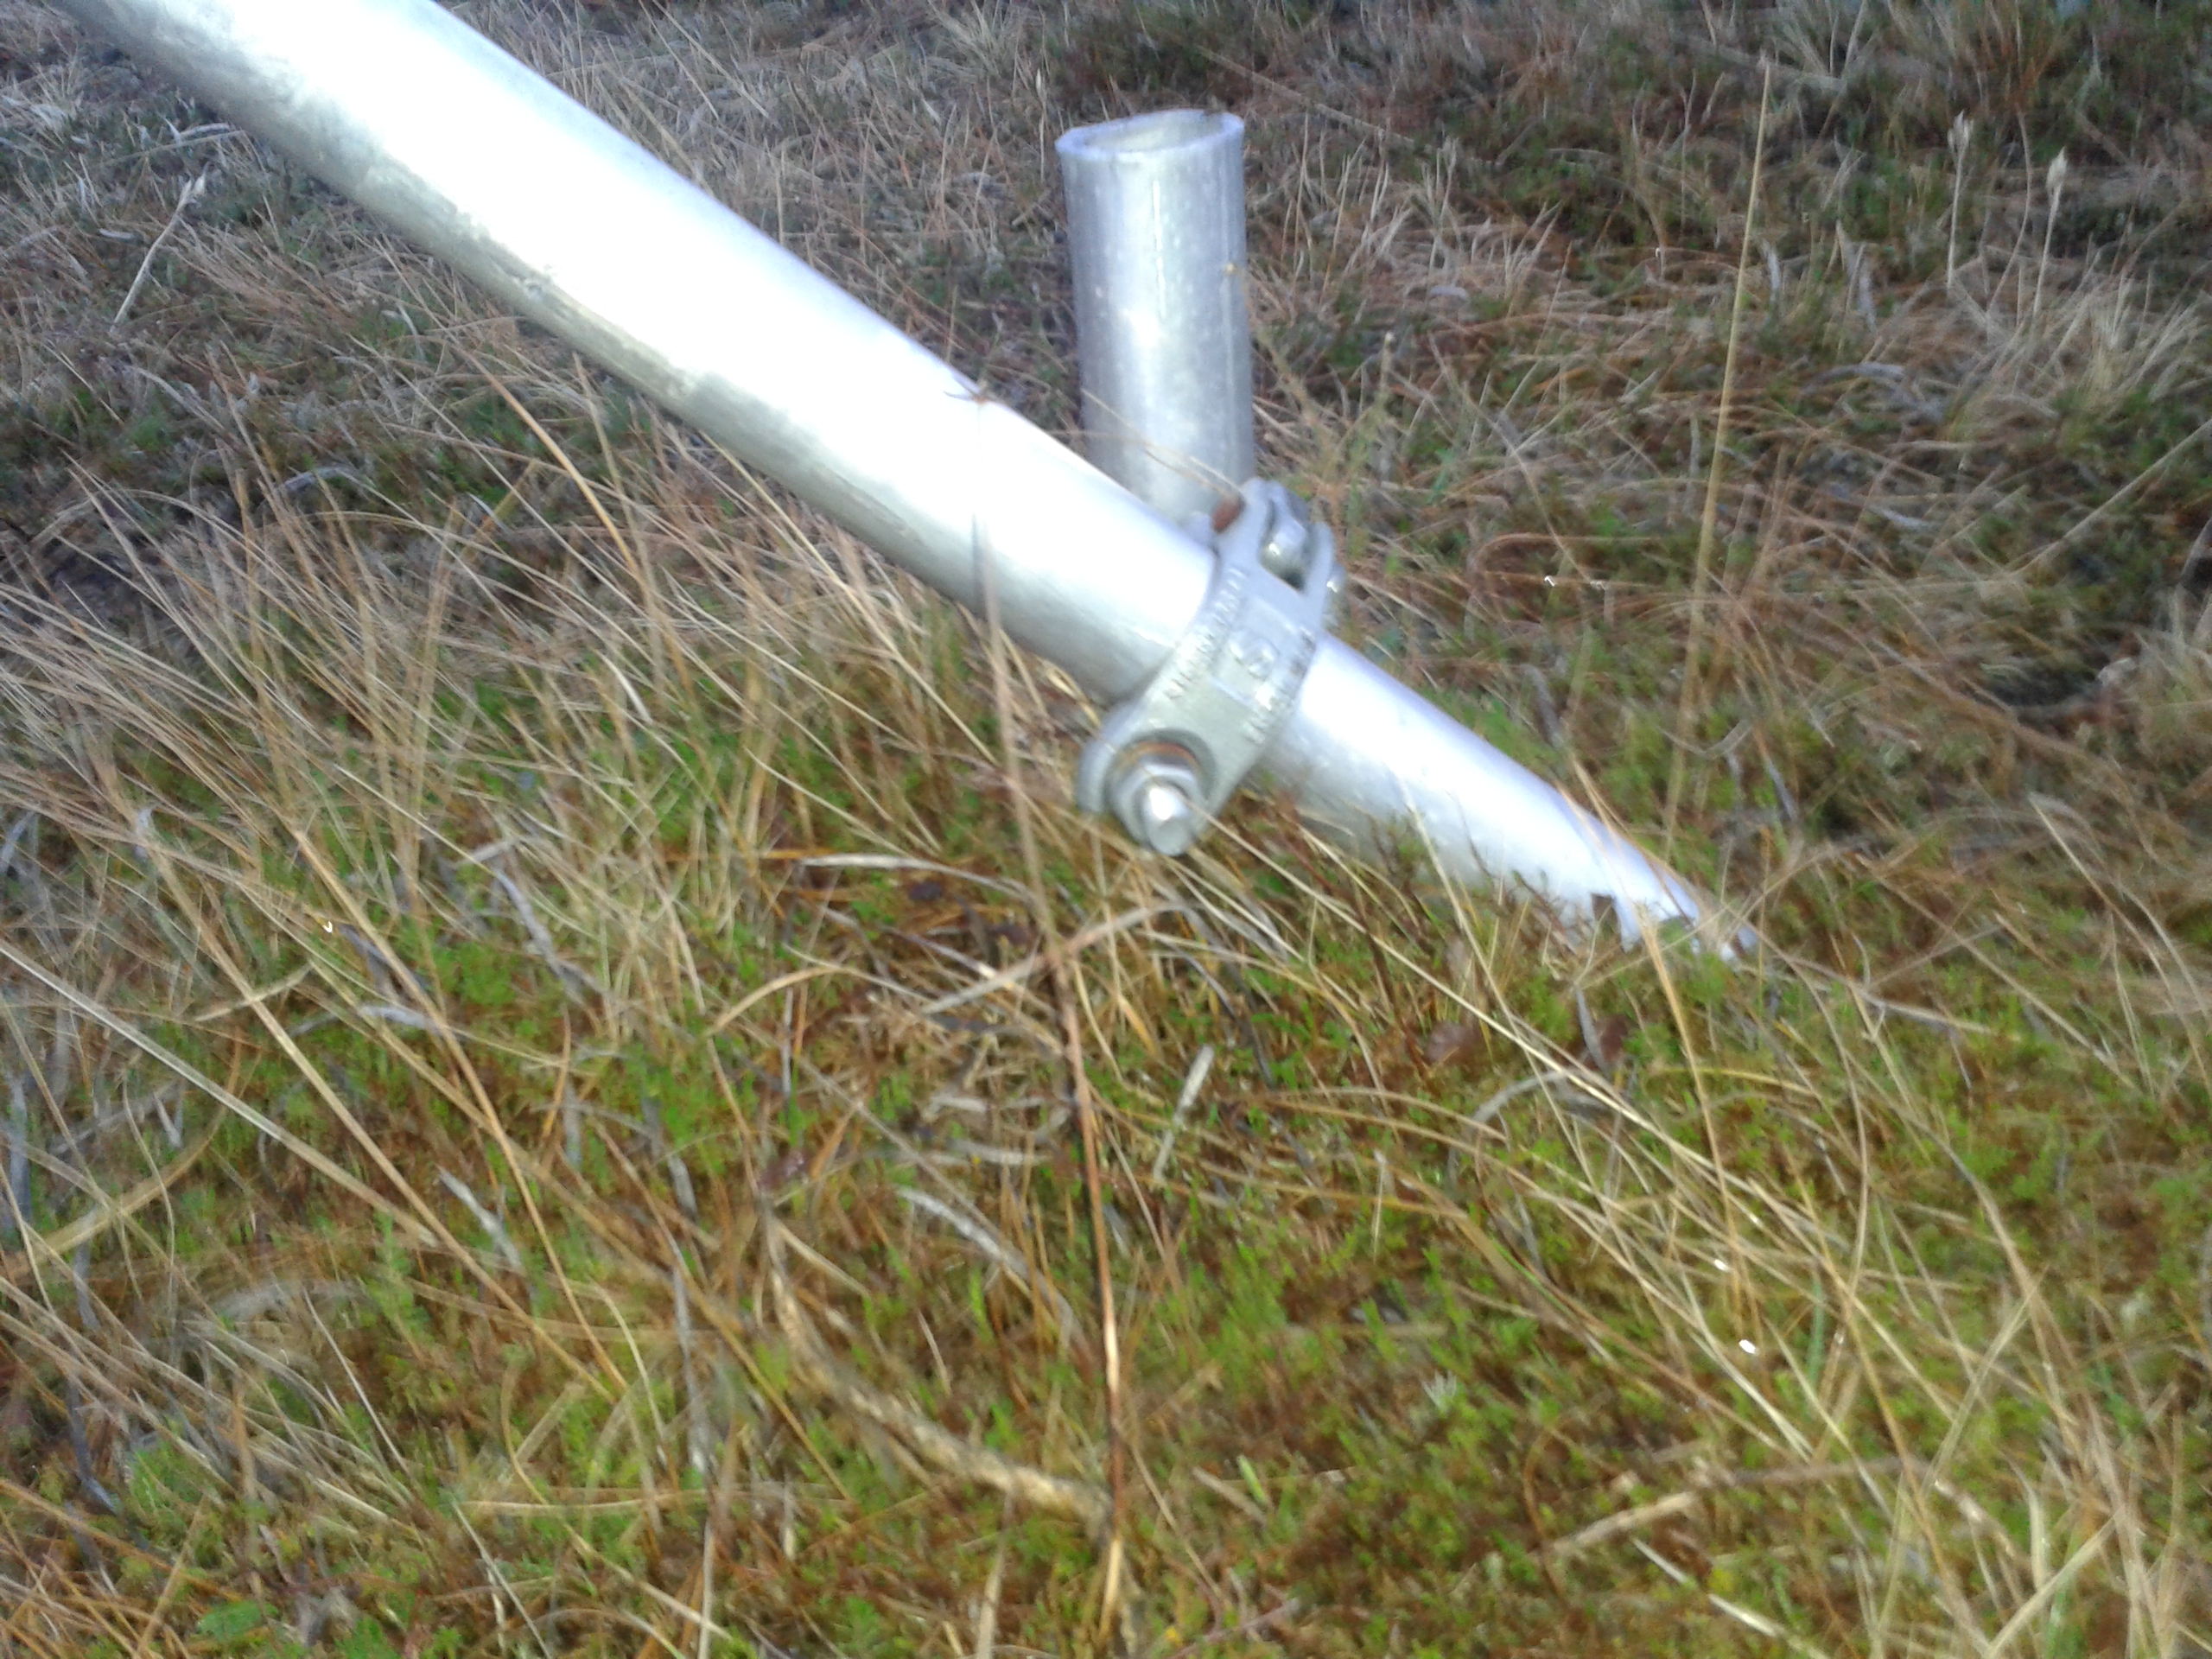 Pegged anchors |
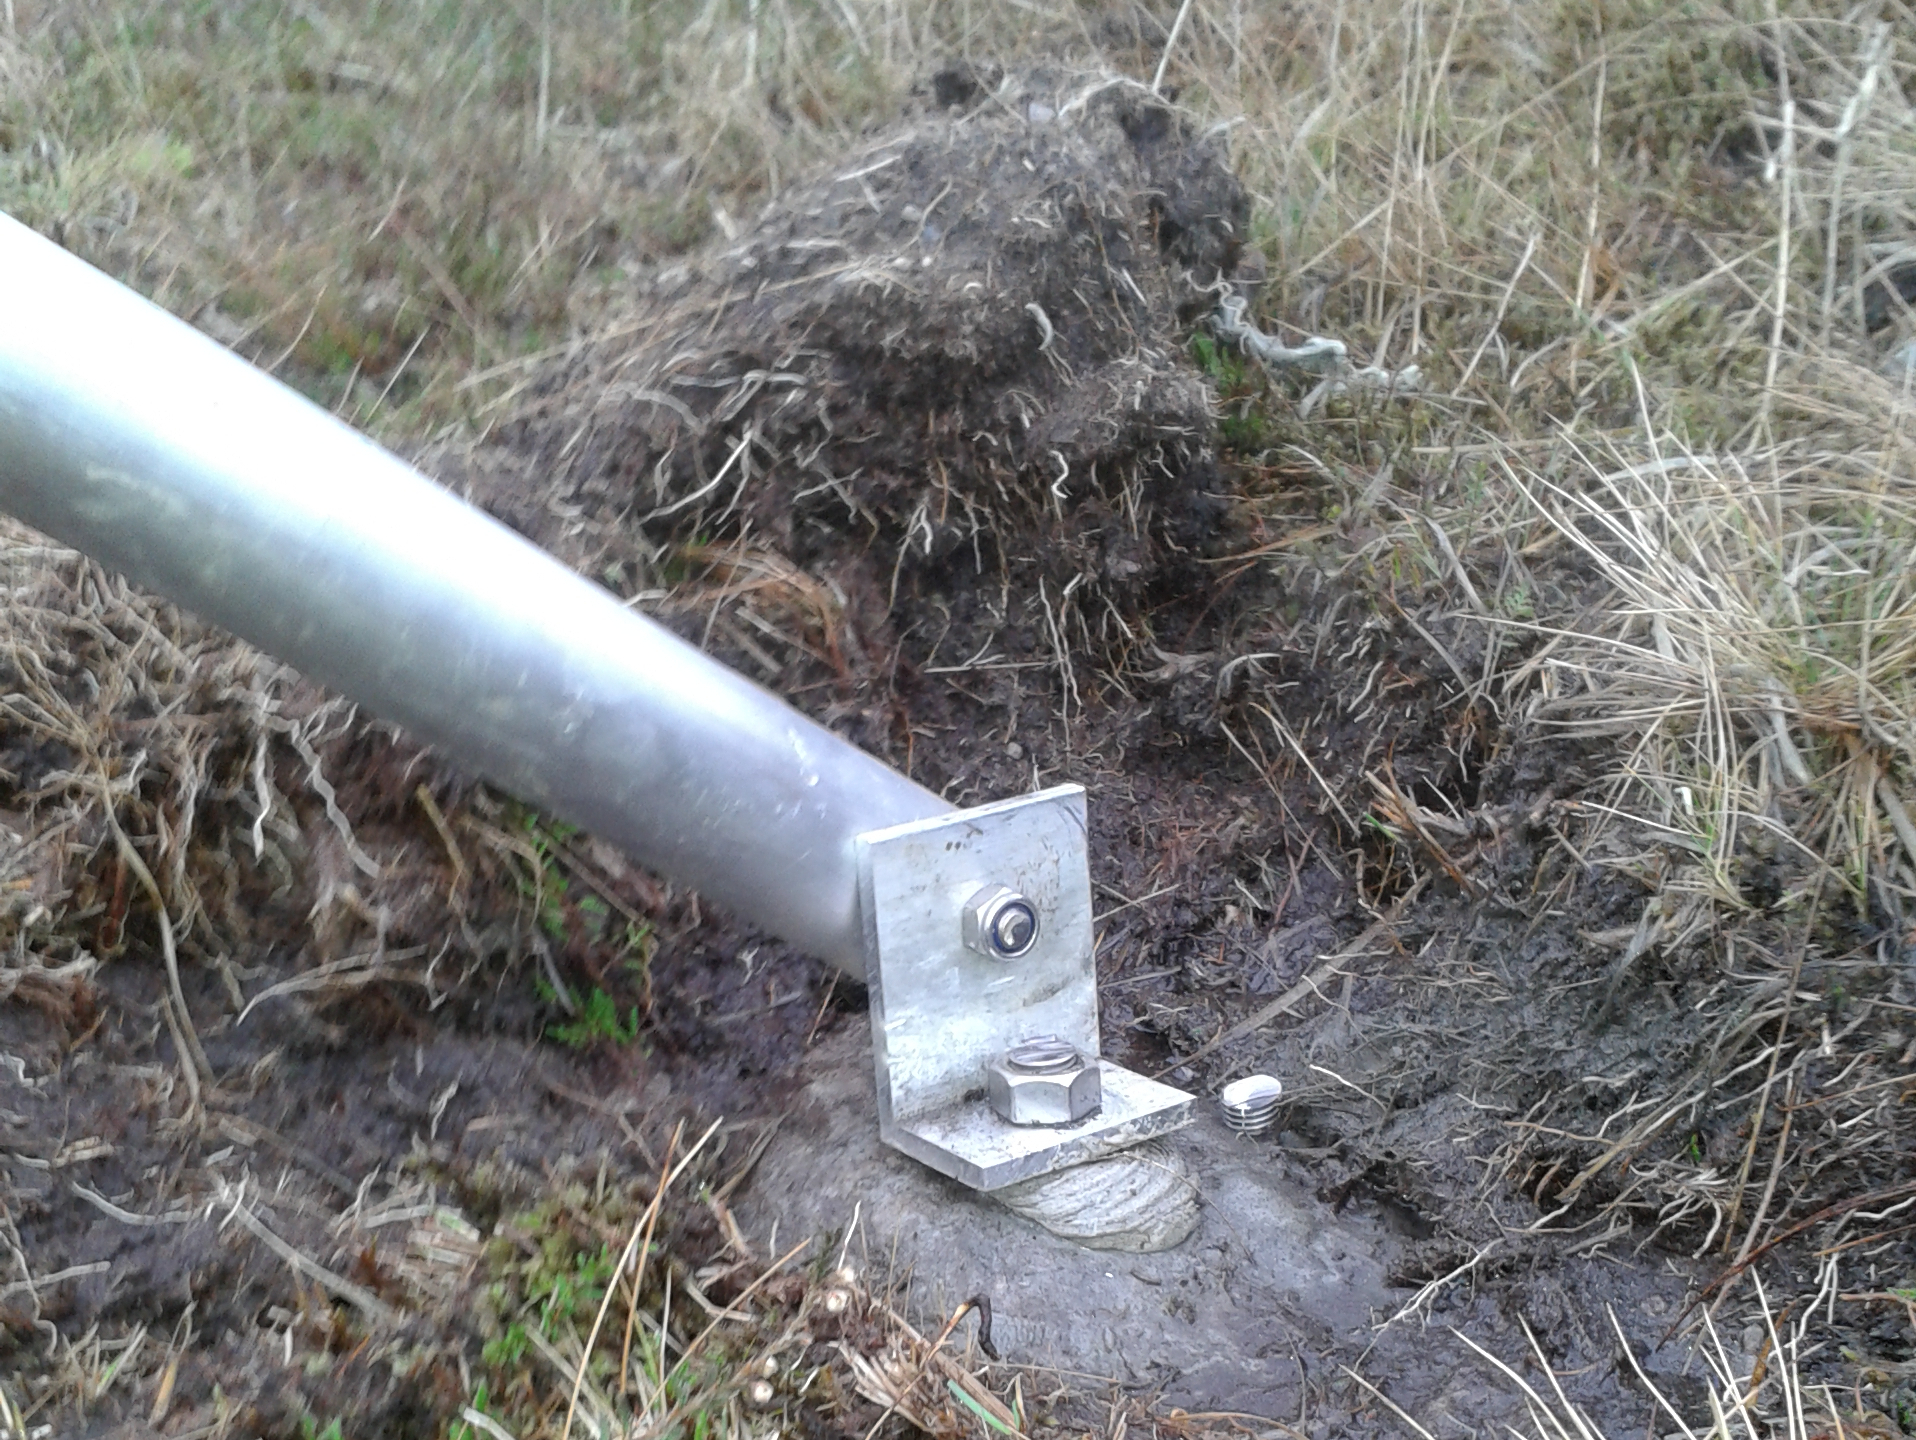 Epoxy Anchors |
We also strengthened both relays. For example, at one of our relays we added an extra horizontal bar.
 Corran Relay Before |
 Corran Relay After |
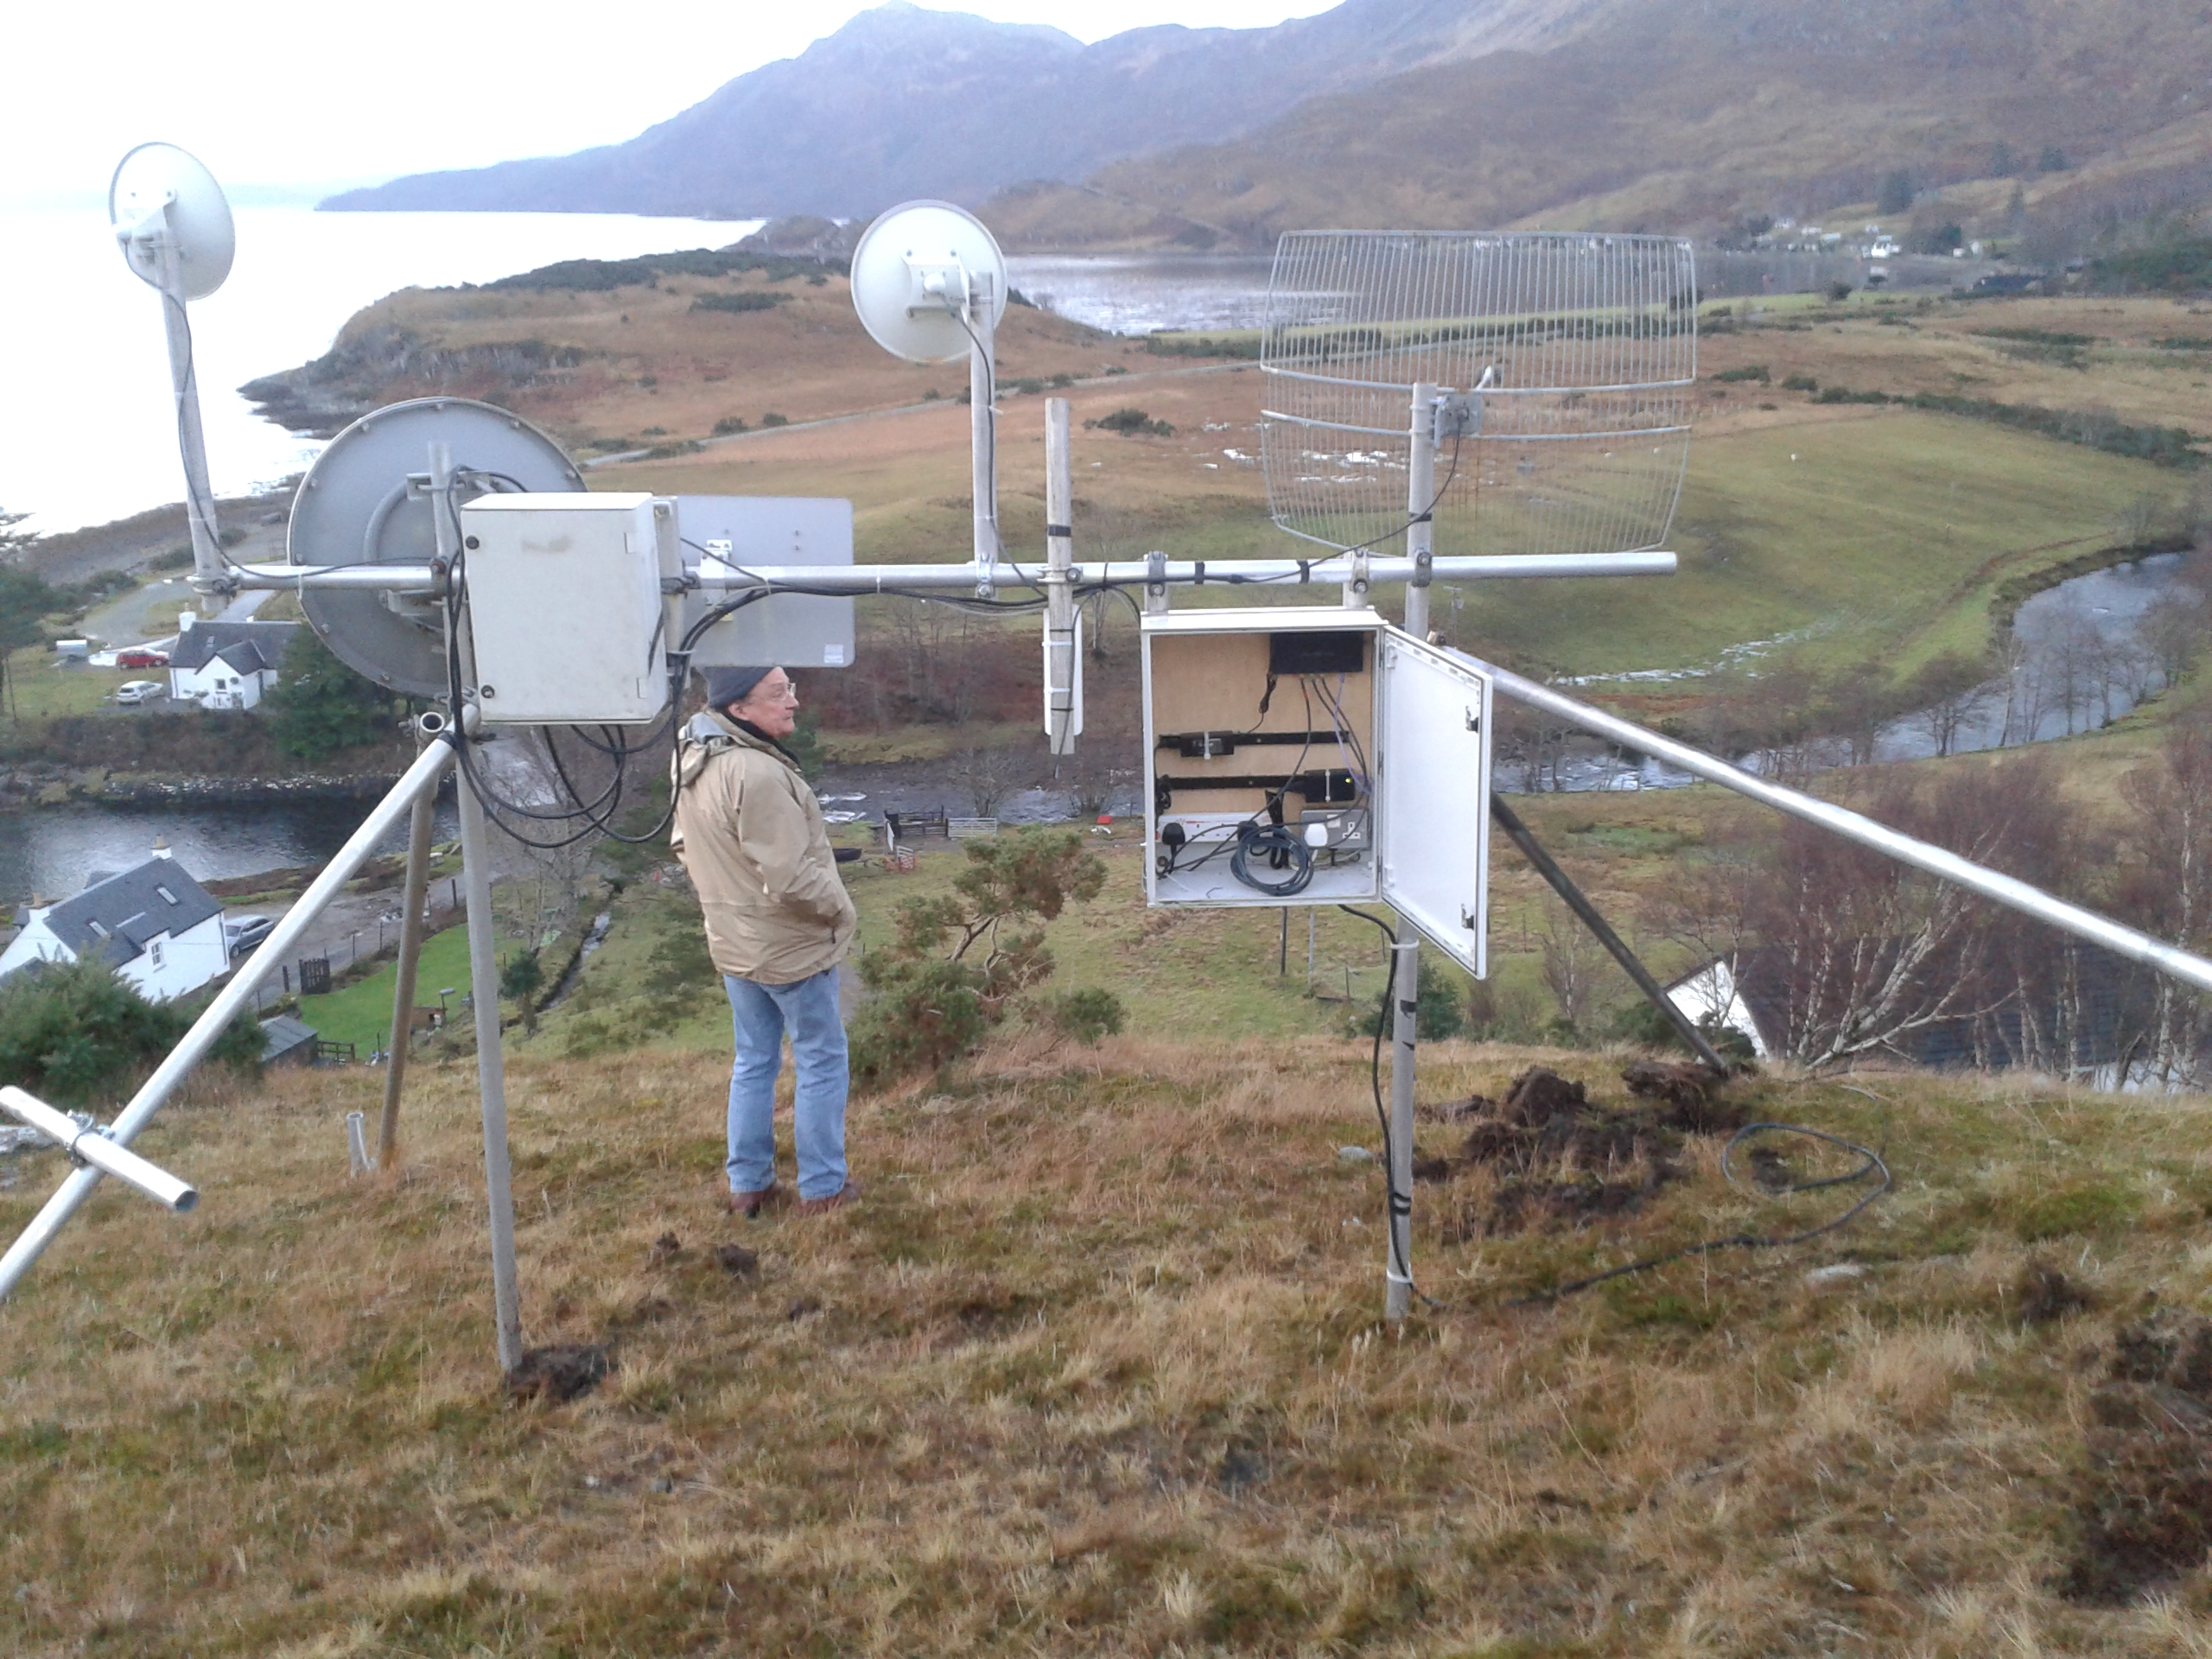
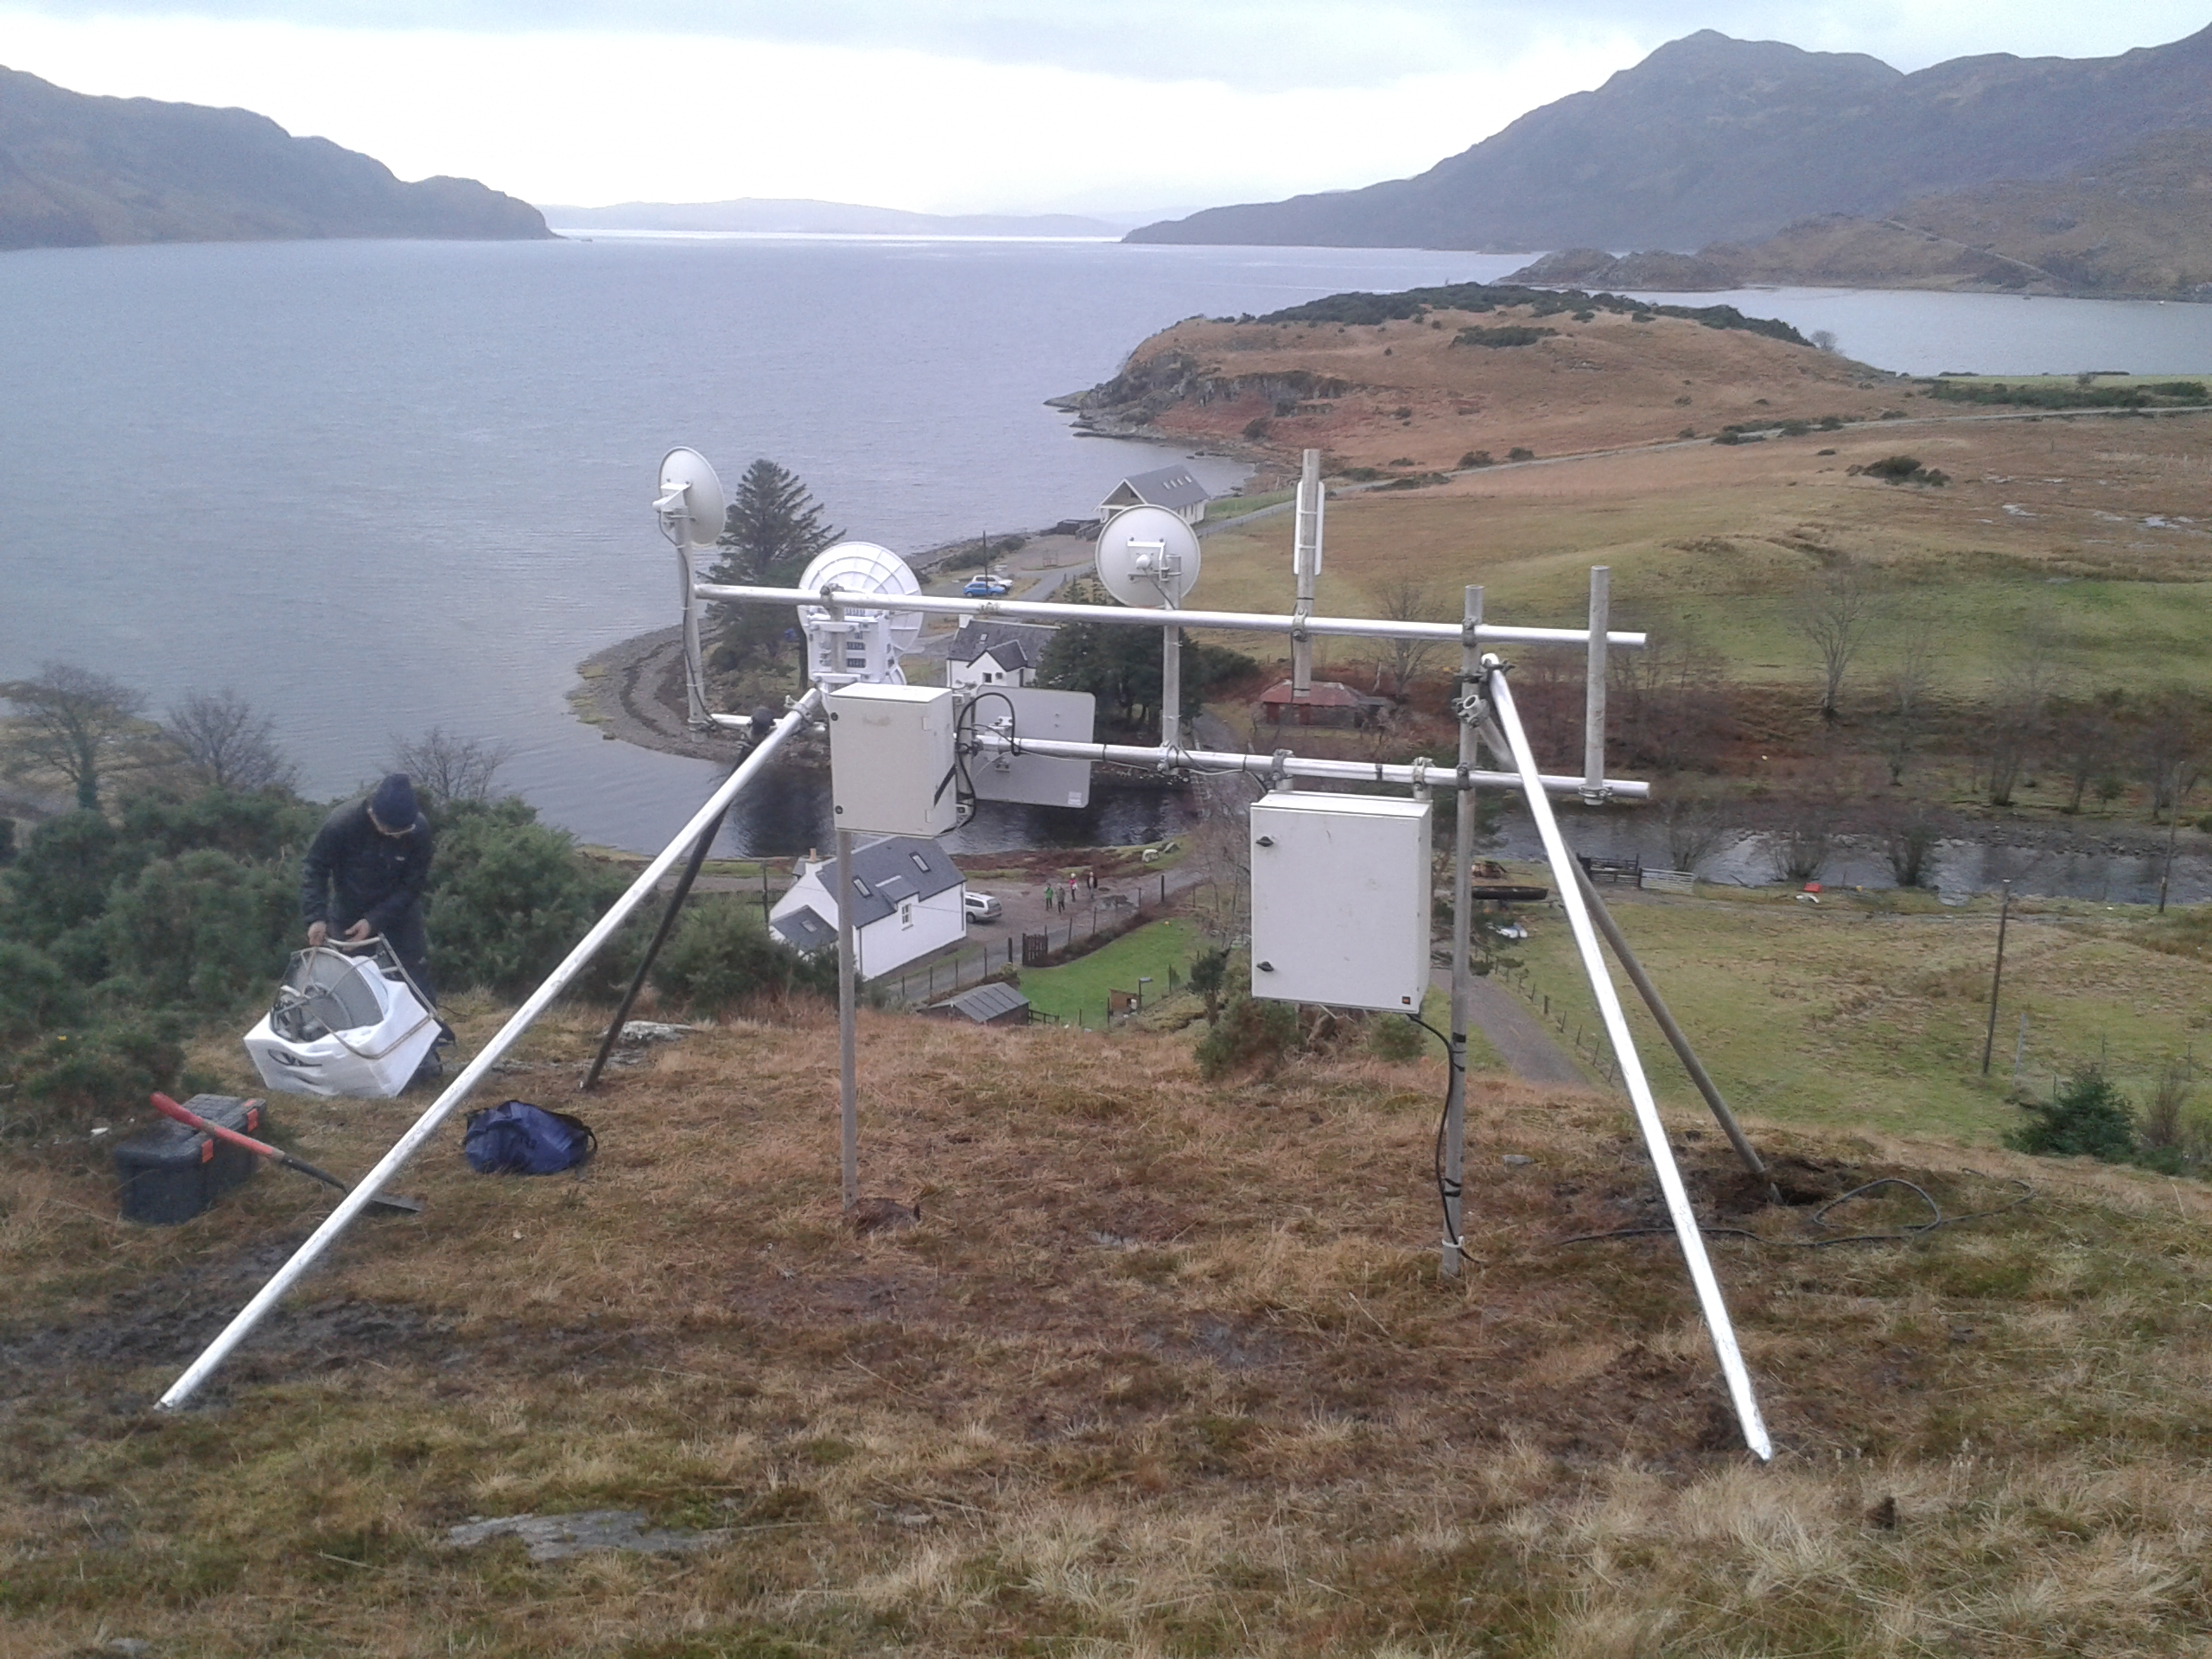
January 2014. Installation and Alignment
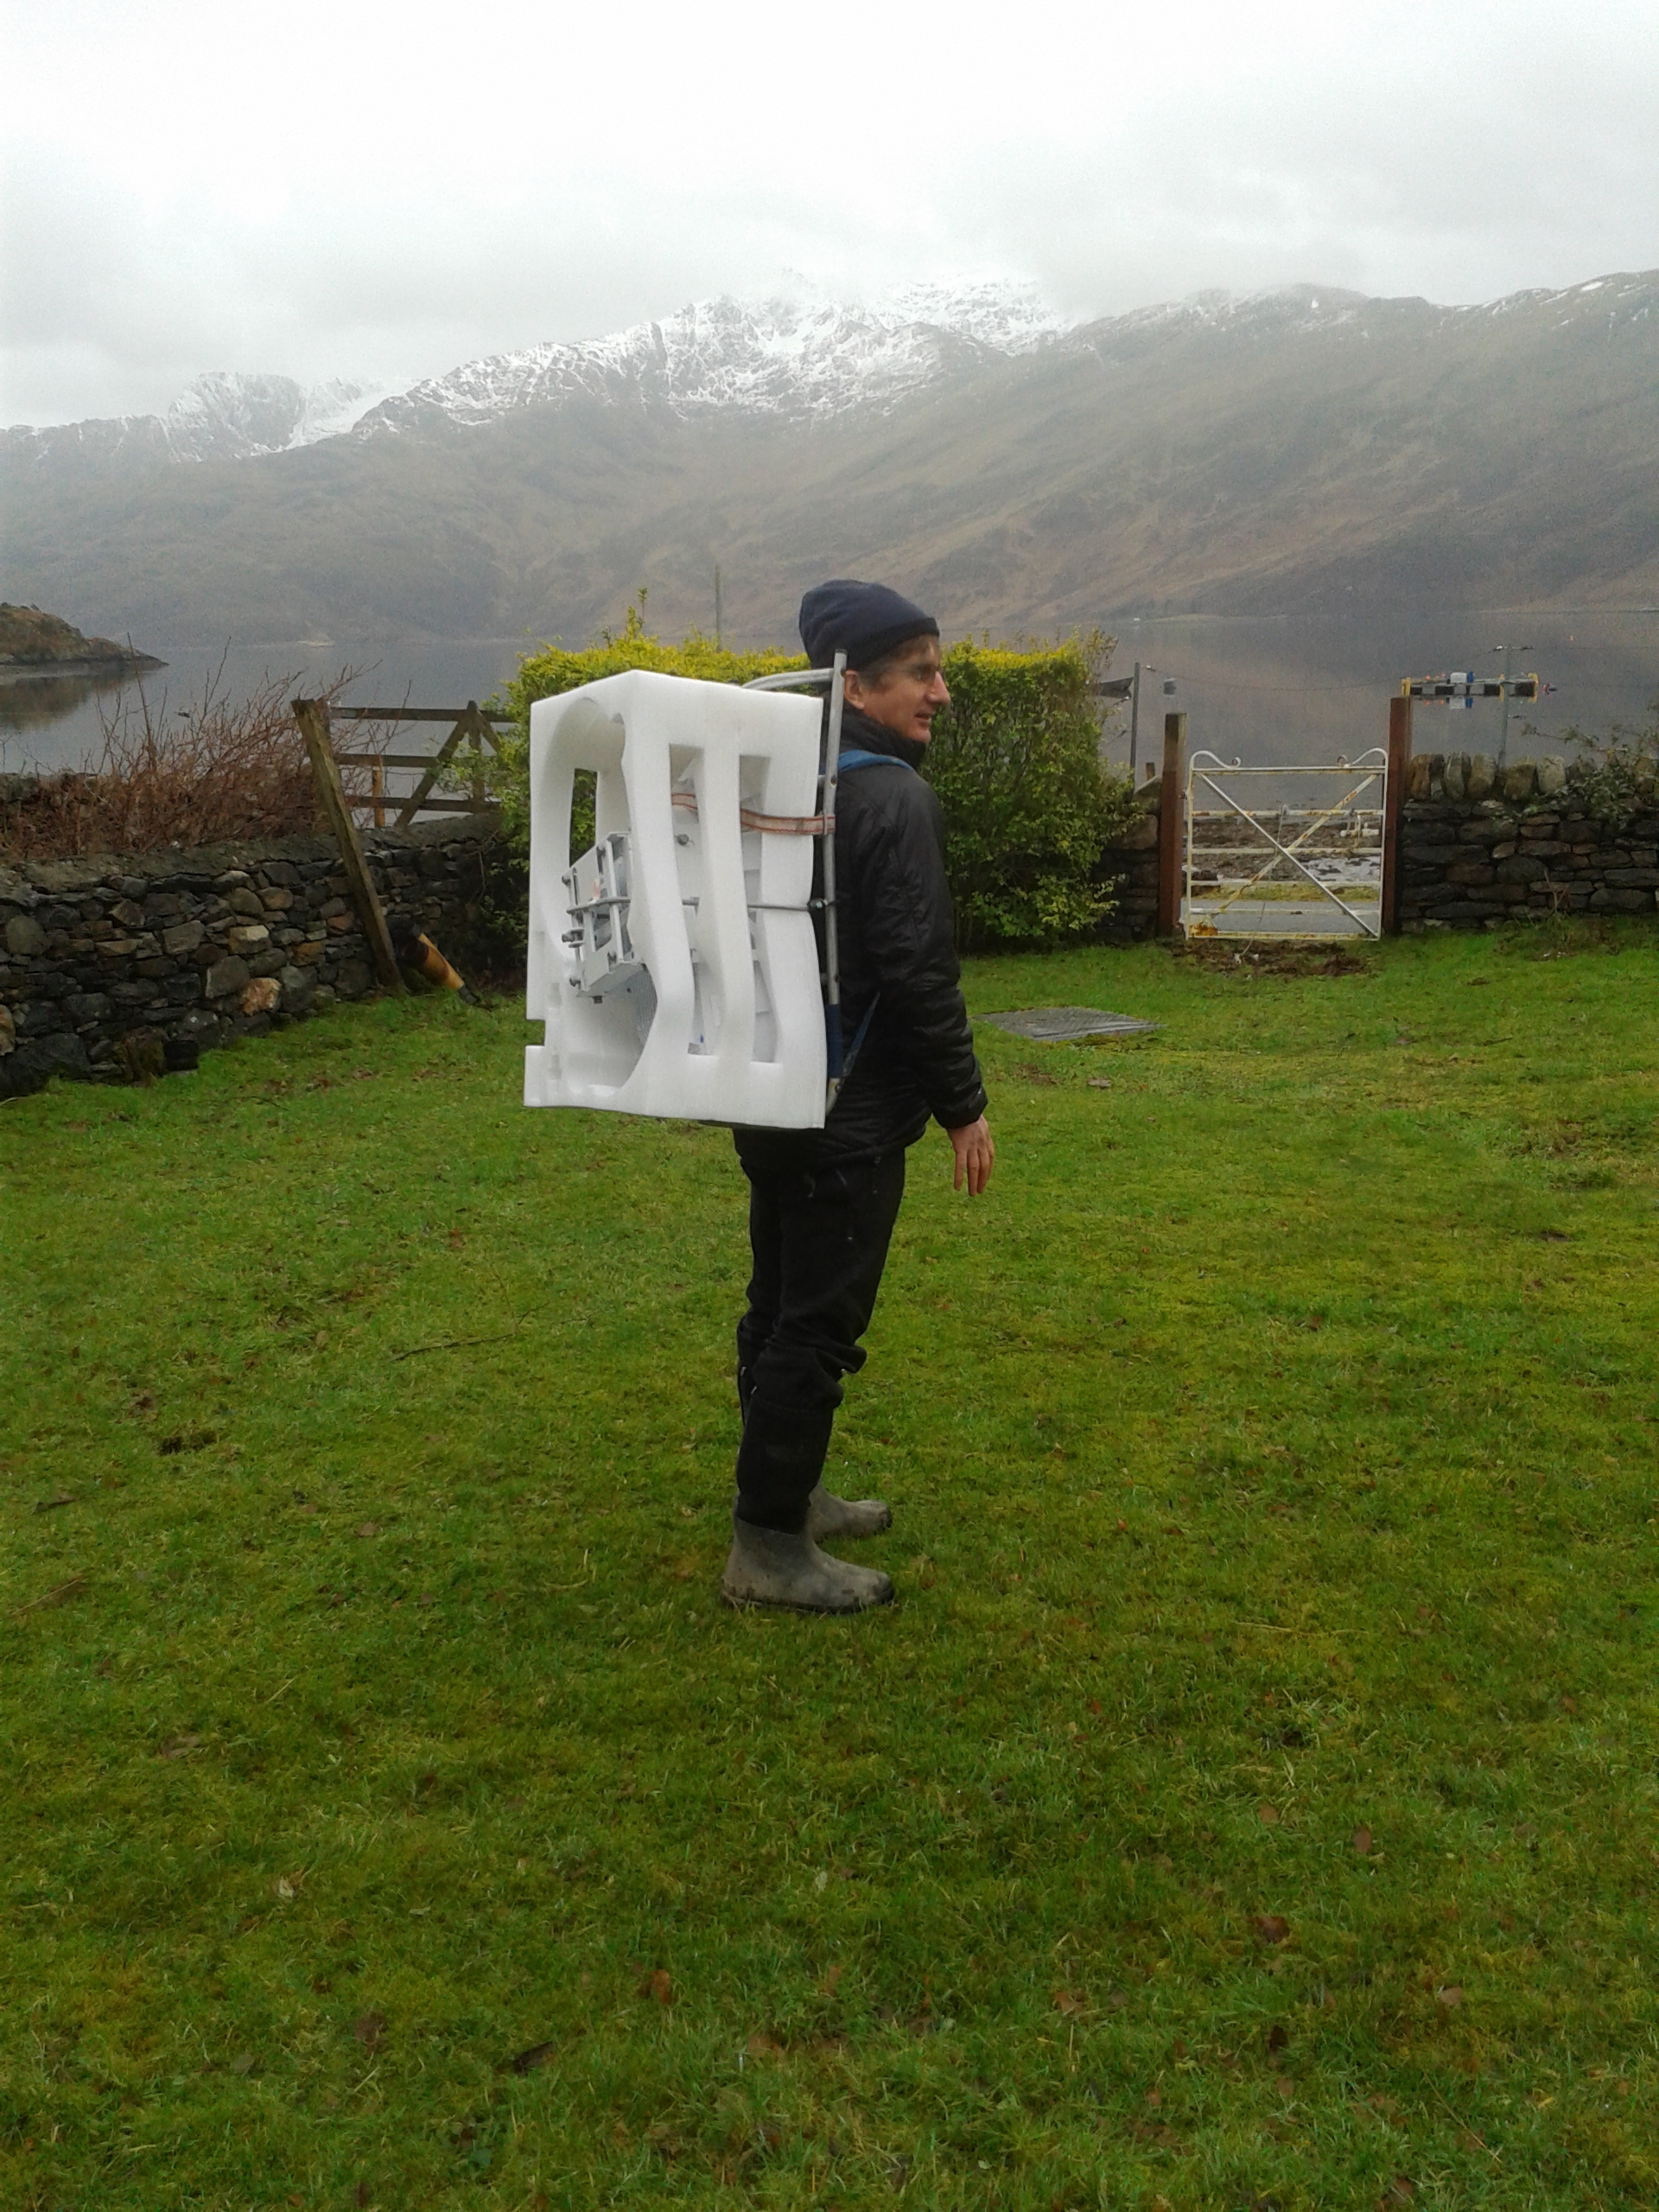
Local Transportation
The radios are reasonably light (under 10kg) but awkward to carry up hills. We used an old backpack frame that 30 years ago had been used for carrying batteries up to community TV relays. The radios come with a mounting frame that is first attached to the structure. The radio is then “slotted” into the mounting frame. This arrangement makes it quite easy to install the whole assembly when working from a ladder.
The antenna can be aligned through elevation and azimuth adjustment screws. Unfortunately there is a great deal of backlash in these screws, and they are almost useless if you are working in high winds. If the clamping bolts are loose, the antenna is blown around through the considerable travel allowed by the adjustment screws. The signal strength read-out is at the bottom of the antenna, and if the alignment is being done from a ladder, you almost certainly need someone below (with a hard hat) to squint up and call out the figures.
The installation instructions recommend an alternating process in which one end of the link is adjusted then the other, and so on. Unfortunately we were unable to complete this process before the weather closed in and our workforce departed. However, the alignment is good enough that we can start taking some measurements. The initial indications are that the link will work reasonably well over a distance of 6.5km.
